ROFA Precision Calculation Tools

Standards
- ISO
- 13528
- 4259-1
- 4259-3
- 4259-5
- 5725-2
- 5725-5
- ASTM
- D6300
- D6708
Countries
- Worldwide
The precision of analytical test methods expressed as repeatability and reproducibility is the closeness of agreement between independent results obtained under stipulated conditions and play an important role for test method developers and specification writers as well as for certifying products according the product specifications. ROFA works closely with statisticians and industry experts to provide the unique solution for precision determination of measurement methods under ISO and ASTM.
| TOOL | ABOUT | METHOD |
| ILS Evaluator | determines precision | ISO 4259-1 ASTM D6300 |
| PTP Evaluator | compares standard deviation vs. published precision | ISO 4259-3 |
| Method Comparator | assesses two test methods that measures the same property of a material | ISO 4259-5 ASTM D6708 |
| SQC Plotter | construction, operation maintenance of statistical control charts | ISO 4259-4 ASTM D6299 |
| CRM Calculator | Calculation of the accepted reference value from round robin tests (under development) | ISO 5725-2 ISO 5725-5 ISO 13528 |
Each of these modules can be used as Stand-Alone Software!
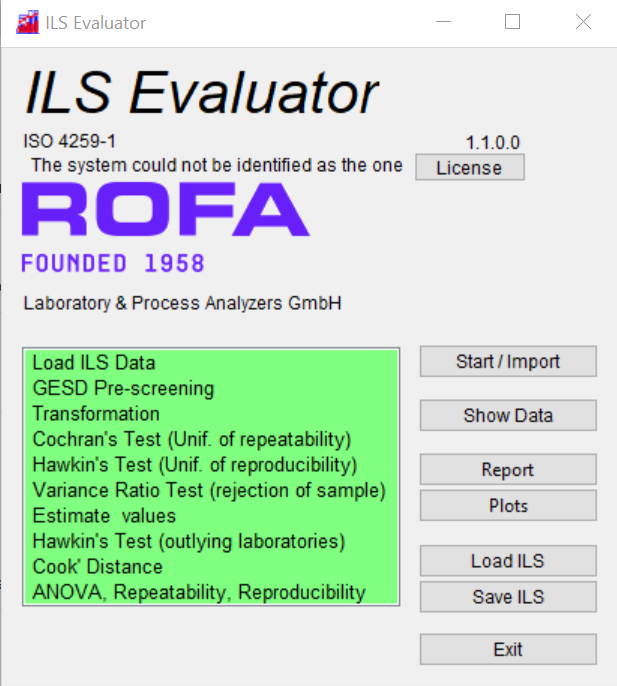
ILS Evaluator
Determines the precision of test method based on data from Inter-Laboratory Studies (ILS) according to ISO 4259-1 Petroleum and related products.


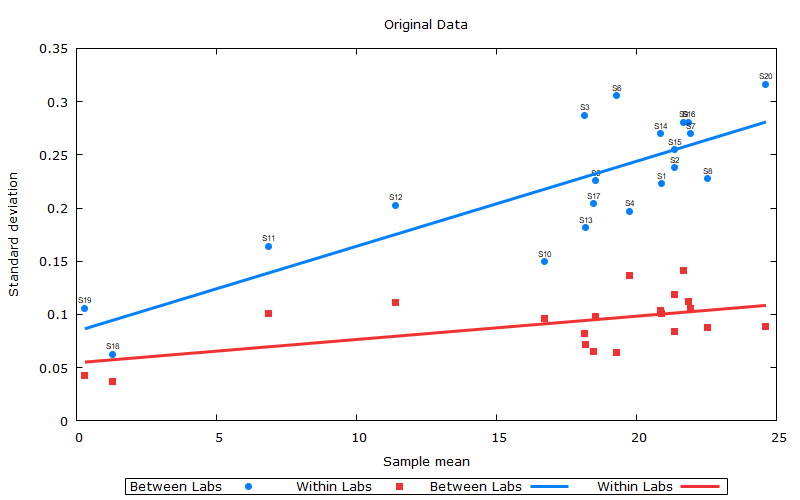
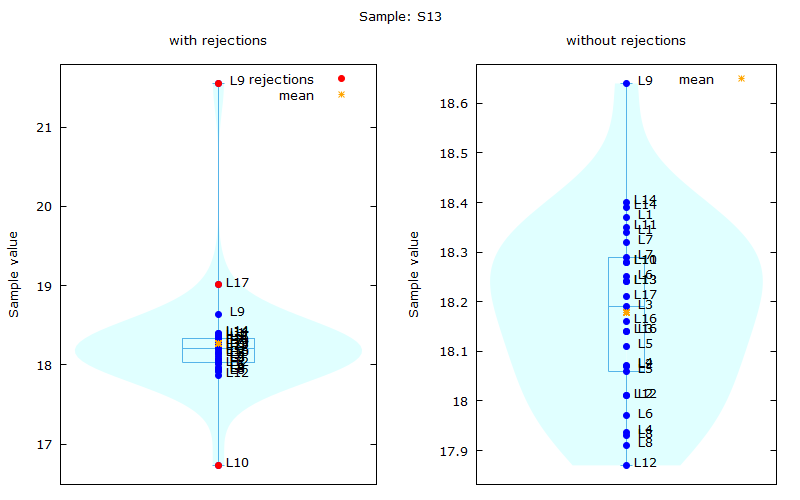
A report in text or PDF format can be generated from the result of the precision calculation, with numerous plots being included.
PTP Evaluator
Compares the standard deviation achieved in Proficiency Testing Programs versus the published precision according ISO 4259-3: Petroleum and related products.
Import from Excel, text file or:
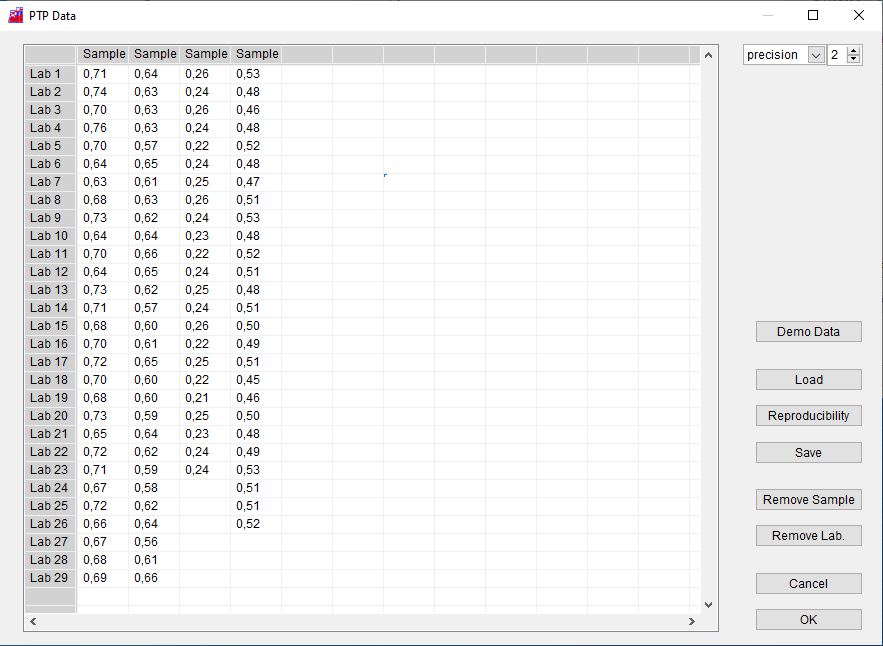

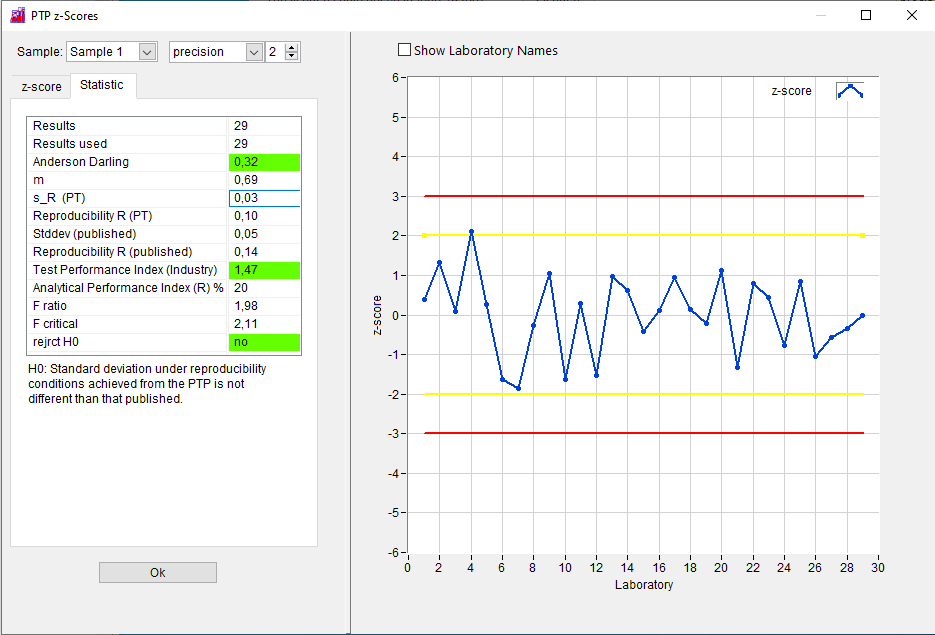
The parameters m, s and c used to calculate the z-score can be freely defined in such a way that most variants of the z-score (z,-score, zeta-score, etc.) can be calculated.
A report in text or PDF format can be generated from the result of the precision calculation, with numerous plots being included.

Method Comparator
Assesses statistically two test methods that measures the same property of a material according ISO 4259-5 (in preparation) and ASTM D6708.


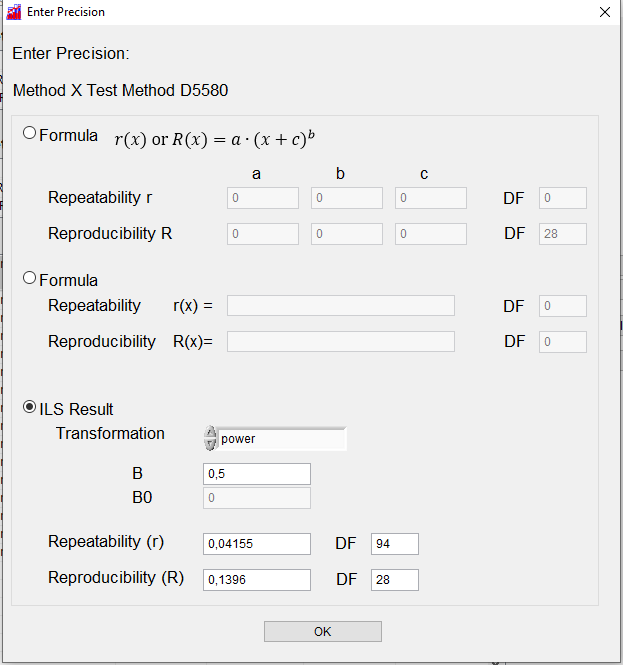
The precision (repeatability and comparability) can be entered manually in different forms.
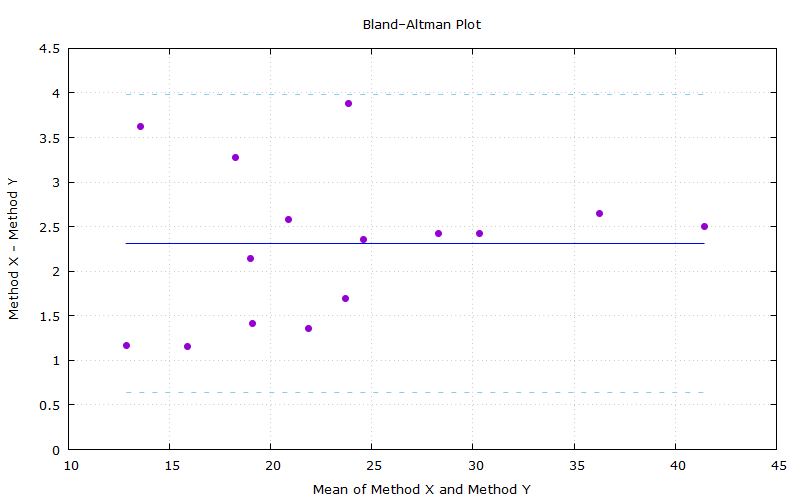
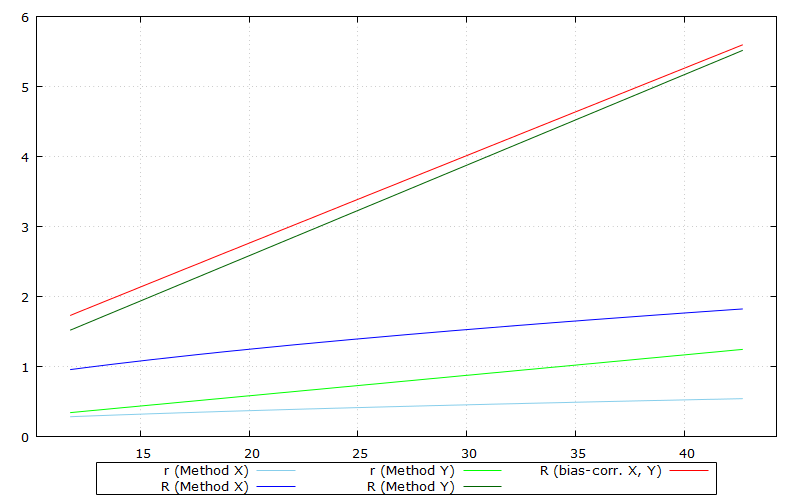
A report in text or PDF format can be generated from the result of the precision calculation, with numerous plots being included.
SQC Plotter
SQC Plotter is a tool to construct, operate and maintain statistic control charts (Individual Charts and Moving Range Charts).

The top chart, the I-Chart, is a graphic display of individual control sample test results (X) collected under site precision conditions, plotted in chronological order, overlaid with a centre line, lower and upper decision limits that require action if exceeded. The primary purpose of the I-chart is to monitor process centre stability over time.
The buttom chart, the MR-Chart is the successive difference (with no arithmetic sign) of two individual results in the I-chart, plotted in chronological order, also overlaid with a centre line and an upper decision limit for action. The primary purpose of the MR-chart is to monitor common cause variation stability between successive control sample results over time.

Different in statisitc control conditions as defined in standards ISO 4259-4 and ASTM D6299 are supported by the software.
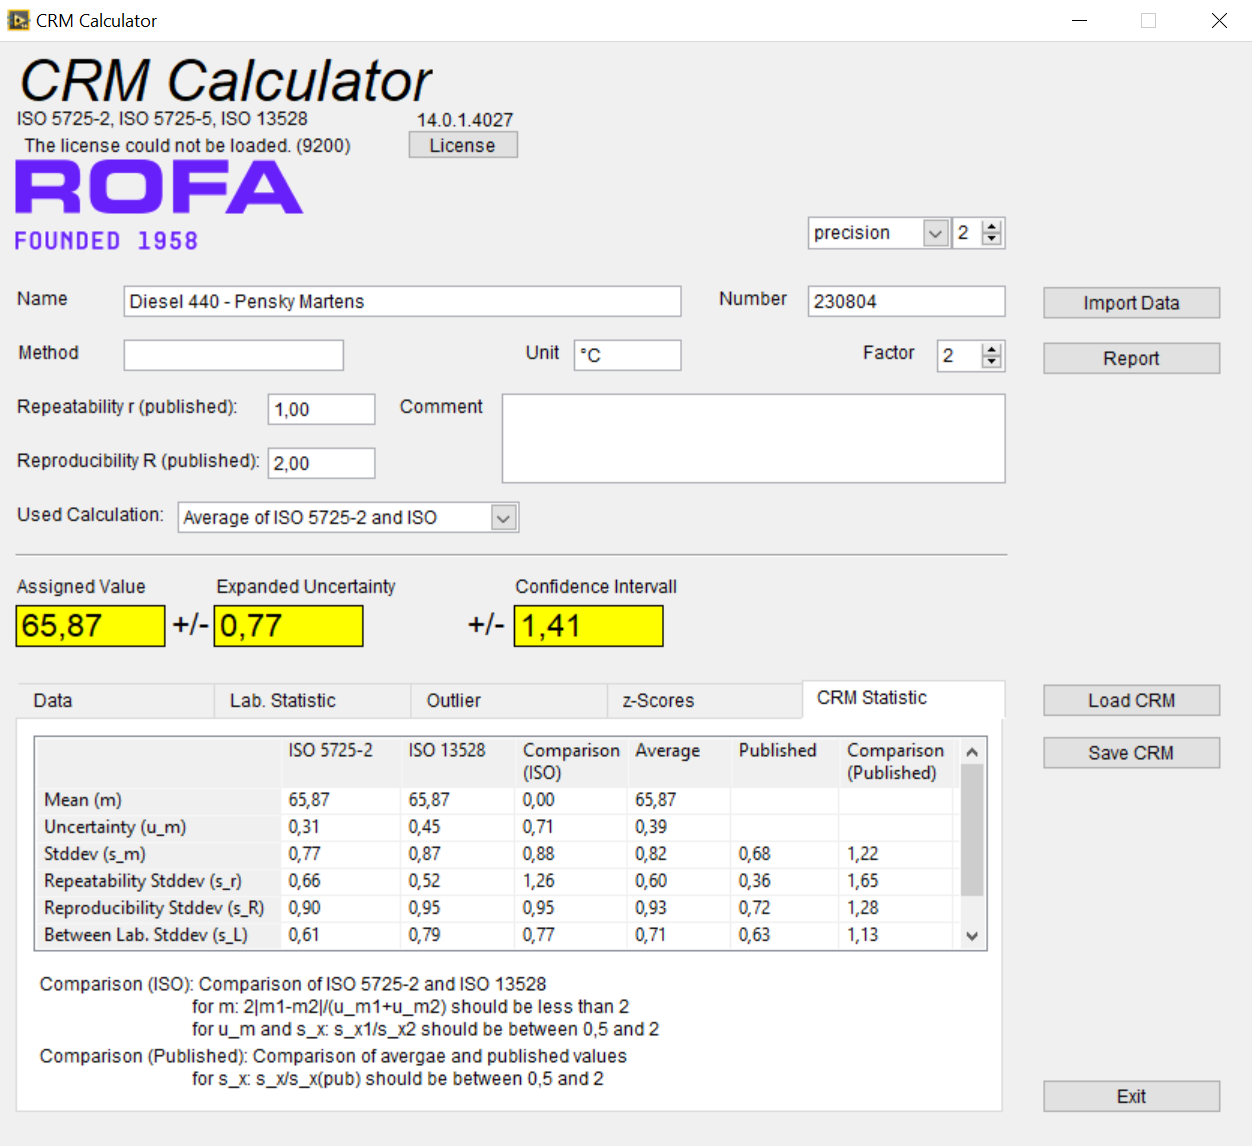
CRM Calculator
The CRM Calculator calculates the accepted reference value for a certified reference material from a round robin test and is still under development.
